Showing posts with label Painting. Show all posts

Monday, September 27, 2010

Sneak Peek

Here's my new project. I didn't get a full picture since there is stuff piled all over it. Here are a couple of sneak peeks. It was my grandparents hutch in their kitchen. I have so many memories of it growing up. I cannot wait to paint and distress it. I think it's going to be awesome if I could just decide on some colors. AHHHH! I'll probably use the paint I have in my garage. We shall see.

Saturday, September 25, 2010

So excited for a new project...

I'm just squirming in my seat about this new crafty project I am about to start on....but not just yet. I'll take some sneak peek pictures and post this weekend!

Saturday, July 17, 2010

Friends, Projects, and lovin' it!

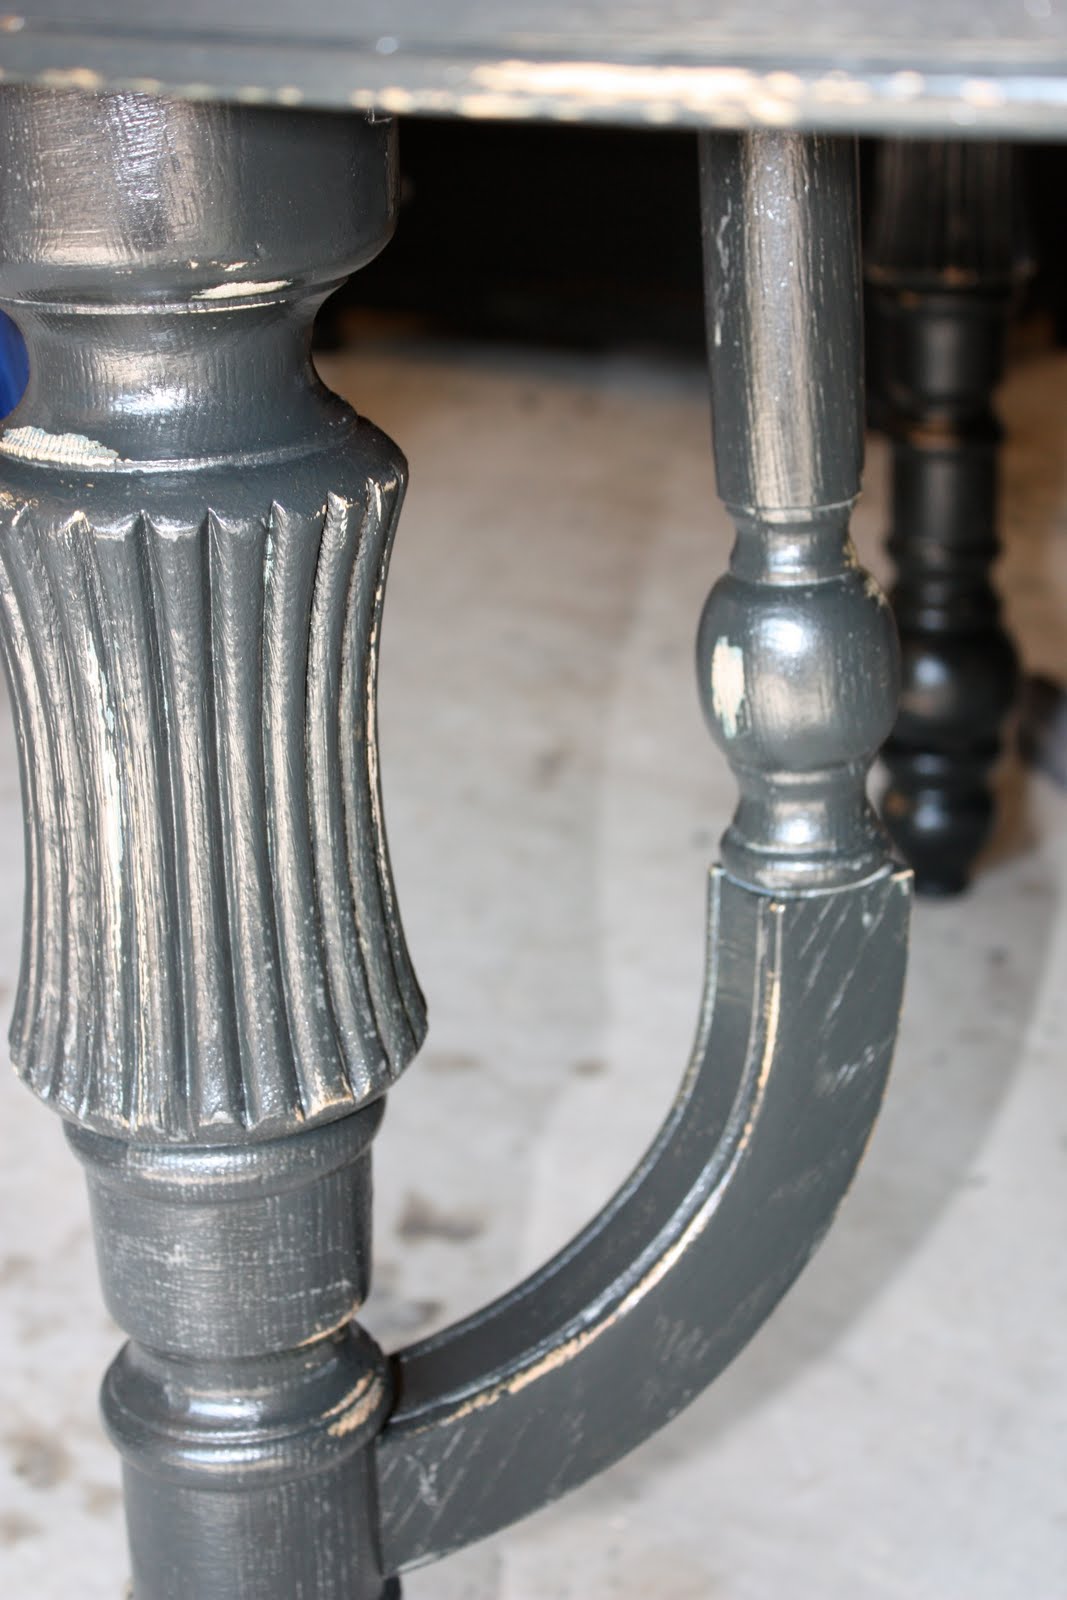
A friend of mine and I were talking one night and she mentioned that she was trying to get an antique table refinished....but that's not her thing. (she is super trendy with great style and has great decorating abilities). It was an antique family table and she also wanted an older family dresser repainted. So of course I happened to mention that I LOVE refinishing furniture and would love to help her out. So away I went.....

First she wanted to make a permanent leaf in the middle. Since it was antique, we had to start from scratch for a new leaf and permanently attach it. We also reinforced it for sturdiness and moving. Then came the days and days of sanding. Luckily the 3 layers of paint came off pretty easily. I just love sanding....because it ends in getting to paint- which I ADORE painting.

So here's the before:


Here are the after pics:


the only difference in the dresser was just that we sanded off all of the other layers and then repainted black. Then we painted the hinges the silver to match her new knobs.

Monday, May 17, 2010

Breaking the chain of Love!....of Paint.

I decided to break my chain of painting and make something I thought was more boy. And I like that it's 3D. I had the wood in my garage already...I think it's a 1x8. I bought the chipwood letters for 99cent plus 40%off at HL. And the scrapbook paper was 3/$1. So I lucked out. The paint of course I already had.

My boy loves having his name in big letters on the wall. He already knows how to write his name but he's starting to read so it's just another fun thing for him.


I painted the wood, then sanded the edges. Then I modge podged on the scrapbook paper that I had traced. Then I sanded the edged of that as well so it would blend better. Then I modge podged over the paper. Then I wood glued on the letters to the board. I absolutely love my Gorilla Glue. This was super simple and am trying to not make another one. Except maybe just one for my other boy and keep the painted canvas for my girl. I wanted to mix it up just a bit.

One down a million to go!

I've had this project done and hanging on my wall for at least 6 weeks. I don't know what is wrong with me being so behind on blogging. I'm becoming a little lazy and letting my life just be life. I'm slooooooowly getting my house decorated in what I think is my actual style...for the moment. (snickering as husband rolls eyes)

I was on one of my crafty blogs, sorry I forgot who, but then it linked me to Jess and she has amazing ideas!


Now I did a close up of the Canvas because my table is a hideous work in progress. And I know my apartment white walls are gross, but at least this metallic paint livened it up a bit. I have a couple more projects in line. One is done but not painted, one is still being finished, one that I just need to post, and one that I haven't figured out where to put. I've just been on a roll with doing these cheap projects.

These canvases I got at Hobby Lobby for 30% off. I think they're 16x20 and they come two in a pack. So I paid $14 for them and still have an extra canvas I can find a use for later. I already have a pleathera of blue painters tape at home, and this brown metallic paint I had as well from all of my painting days. I admit though that my perfectionist self had to go back over each one and touch up with white. Actually I still don't think I've sealed them since I think one needs a touch up on the side...LOL! I'll get around to it.

Tuesday, March 16, 2010

TA-DA!

Well, finally I got a chance to update yall on this project. I've had it done for about 2-3 weeks. But just life and lack of internet got in the way.
Here's some before shots including the color. Sorry, I took one at night and they were with my point and shoot camera too.


And here is the after. I adore it.(ignore the baby clothes stacked next to it. I'm packing them up.) I first tried spray on paint since I've heard it's so easy and it turns out great. But since this green wouldn't sand off completely, then I decided to take the Nester's advice and use Behr's Paint n Primer. It's the most fabulous paint and I'll NEVER use another kind again! It only took two coats. Then I sanded down the edges and other places I wanted it to look worn. Next I rubbed Ralph Lauren's faux glaze in Tobacco on and wiped off and topped it off with a sealer and some fabulous new handles.


*if you check out the Nester's link above it's a hint as to what my next BIG project is. :)

Monday, February 1, 2010

My furniture obsession

So I got this dresser from a friend who was getting rid of it for F-R-E-E! The best! Because I'm silly this is the only before picture I have of it...horrible lighting in my garage. The color is actually lime green.(she has 2 girls) But STAY TUNED this week for pictures of what I have done to it now.....

I love this detail!